
Buyer Guide
Inflatable Hanging Signs: What to Confirm with the Venue Before Ordering
Before ordering an inflatable hanging sign, confirm that the organiser permits it in your exact location and that the venue's approved rigging team can review the proposed installation. Collect the permitted dimensions, suspension conditions, document requirements, electrical arrangements and submission deadlines before releasing the final design for manufacture.
By InflatCraft Product Team • Last updated
Planning the purchase
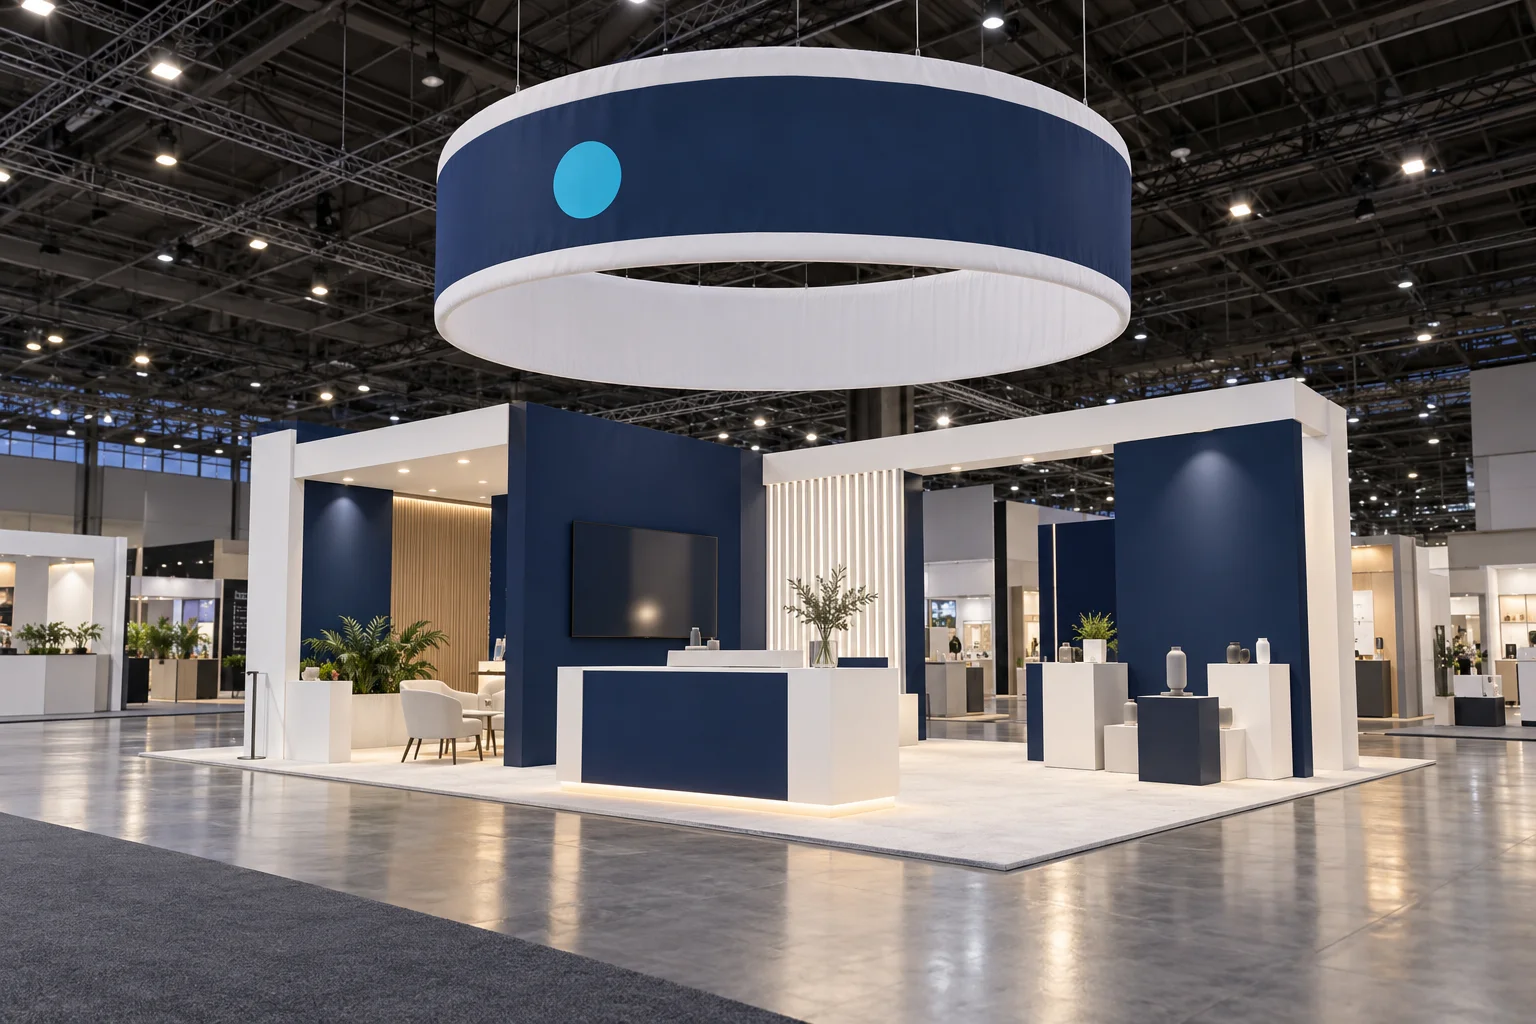
An overhead logo can help visitors find a stand across a busy exhibition hall. The purchasing challenge is coordinating three different decisions: what the brand wants people to see, what the manufacturer can supply and what the venue will approve overhead.
Treat those decisions as one documented project. A quotation for the sign alone does not settle whether it can be installed at the event.
Start with permission for the specific stand
Ask the organiser whether hanging signs are allowed for your stand type, hall and position. Permission at a previous exhibition, or for another exhibitor, is not sufficient evidence for the current booking.
Request the current exhibitor manual and the contact responsible for overhead structures. Confirm whether sign size, position or displayed content is subject to additional organiser approval. Find out who is authorised to supply the rigging service and whether a separate technical review is required.
For example, Excel London's rigging service guidance tells exhibitors to obtain organiser permission before requesting a rigging quotation. It also directs rig power requirements to the event's appointed electrical contractor. That is a useful example of separate approvals within one venue, not a universal process for every exhibition.
The practical outcome of this first step should be a named contact and a clear submission route.
Confirm the allowable space before choosing a size
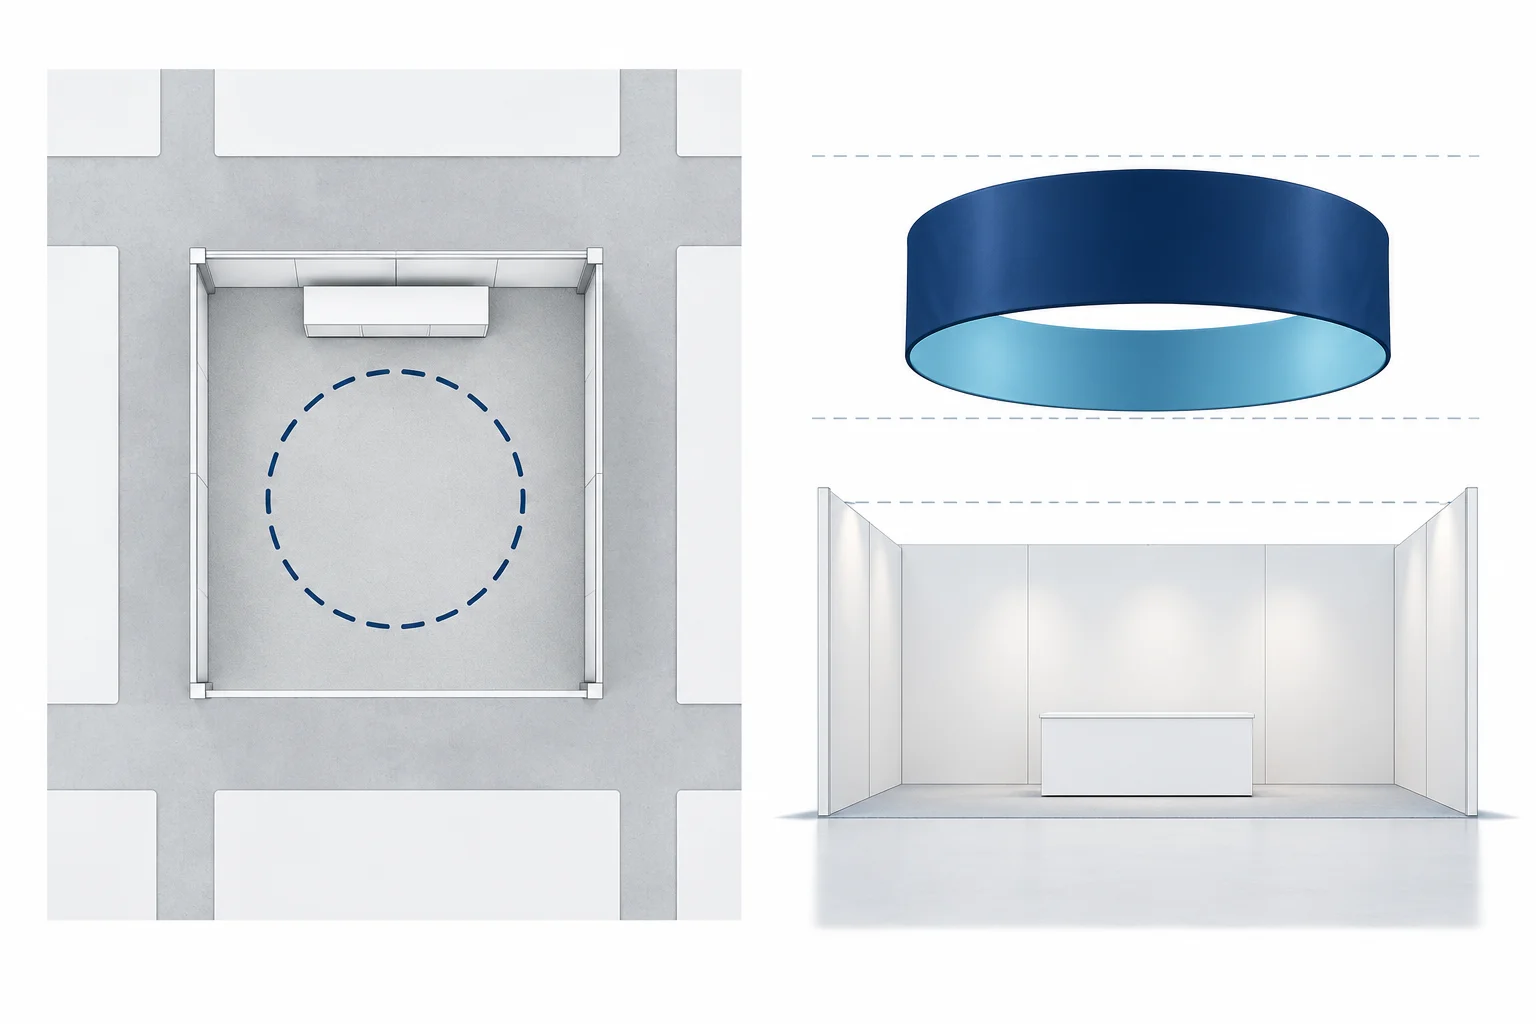
A stand's floor dimensions do not define the space available above it. Ask the venue to identify the permitted overhead area and any restrictions affecting the sign's top, bottom or sides.
Have the project drawing distinguish:
- The sign's inflated width, depth and height
- The intended bottom and top elevations above the finished floor
- Its position relative to the stand boundary
- Nearby signs, lighting, building features and other services
- The main visitor approaches and desired viewing faces
Use the venue's terminology and reference points. “Hang it at five metres,” for example, is incomplete unless everyone knows whether that means the bottom of the sign, its centre or another point.
Ask which clearances the venue needs to review, including those around building services and emergency information. Let the qualified reviewers determine the applicable requirements rather than inserting a standard clearance copied from another event.
The inflatable hanging logo sign product page provides the product route for developing the sign around those constraints.
Agree what the technical submission must contain
Get the venue's document checklist before asking the factory for a generic “certificate pack.” The required evidence can depend on the event, location, construction and installation proposal.
Ask the manufacturer what product information it can provide for the specific design, including dimensioned drawings, product weight, the proposed attachment-point arrangement and relevant construction details. The rigging contractor should identify any further information needed for its installation review.
Also clarify whether the venue wants material fire-performance documentation, electrical information, installation procedures, risk assessments or other evidence. Ask which standards or document formats it accepts. A report for a different material or product should not be assumed to cover the ordered sign.
The manufacturer supplies product-specific information. The venue and its approved specialists decide whether that information is sufficient for the proposed installation. Keep unresolved document requirements visible before production approval.
Leave suspension design to the approved specialists
An inflatable's relatively light appearance does not establish the suitability of a ceiling point, attachment or rigging arrangement. Ask the venue who will design, review, install and inspect the suspension system.
The quotation should clarify where the manufacturer's scope ends and the rigging provider's scope begins. Confirm whether the sign's attachment details must be agreed with that provider before the pattern is finalized. Do not assume attachment points can be added wherever convenient after manufacture.
A buyer does not need to prescribe hardware or calculate overhead loads to prepare a useful brief. The buyer does need to connect the factory with the technical reviewer, supply the correct information and obtain the required approvals for the final version.
Plan power, access and the installation sequence
Confirm the proposed inflation system and any ongoing power requirement for the actual sign. If it needs continuous power, ask the venue and supplier how the air system, power route and service access will be accommodated within the approved installation.
Record who provides electrical services, when power is available and who can access the equipment during the event. Ask what operating instructions and response arrangements are needed if inflation or power is interrupted. Those answers belong in the event plan before the sign is overhead.
Installation order matters commercially as well. A completed stand may restrict access needed by the appointed team. Coordinate delivery, floor access, rigging, electrical work and removal with the contractors instead of treating sign delivery as the final milestone.
Make the artwork work from the aisle
Once the permitted size and position are understood, review the actual logo area. A large outer shape can still carry a small, difficult-to-read mark.
Choose the faces that matter from the main approaches and keep the primary message clear. Ask for artwork views that show seams, curved areas and the sign's intended orientation. If a relatively flat display face is important, raise that requirement before construction is agreed.
For broader stand planning, the exhibitions and trade shows application guide connects display selection with hall restrictions and the overall booth brief. Keep decorative choices aligned with the approved overhead space.
Purchasing checklist: approve the project in stages
Use this worksheet to keep the order moving without losing track of dependencies:
| Decision | Evidence to record | Lead contact to confirm |
|---|---|---|
| Hanging display permitted | Written permission for this event and location | Organiser |
| Size and position workable | Dimensioned layout with agreed reference points | Venue or technical reviewer |
| Product information sufficient | Requested drawings and relevant documentation | Manufacturer and reviewer |
| Suspension accepted | Approval of the final installation proposal | Approved rigging provider and venue |
| Power and access coordinated | Service requirements and installation schedule | Electrical and event contractors |
| Production ready | Approved artwork, product revision and resolved conditions | Buyer |
Add deadlines and an owner to every unresolved item. Before placing the order, distinguish the product price from rigging, power, access equipment, venue services and removal charges. Ask the relevant providers for the complete project scope; do not assume those services are included in the factory quotation.
Prepare an overhead-sign RFQ
Submit target dimensions, viewing directions, quantity, on-site date and a summary of venue requirements through the hanging logo sign enquiry page. Identify the rigging reviewer and outstanding documents. After the reply, share the stand plan and artwork by email or WhatsApp; the form has no file-upload field.
Product Buying Guides
More on choosing and ordering custom inflatables.
Inflatable Entrance Tunnels: Site Planning | InflatCraft
Specify a custom inflatable entrance tunnel around clear internal space, the full footprint, visitor routes, blower placement and event branding.
Static Inflatable Mascot Production Approval Checklist
Approve a custom inflatable mascot for retail or events: review 3D shape, facial details, site limits, inspection proof, accessories and RFQ scope.
Reflective Event Spheres or Helium Advertising Balloons? | InflatCraft
Compare air-filled reflective spheres with helium advertising balloons by installation, artwork, operating responsibilities and quotation scope.
Fixed Character Displays or Wearable Mascots? | InflatCraft
Compare a stationary character display with a wearable inflatable mascot by interaction, performer requirements, staffing and quotation scope.
Compare sizes, materials and air systems on the custom advertising inflatable product range page before sending an RFQ.
Relevant Product Pages
Compare specifications before submitting an RFQ.
Related Project Example
Buyer FAQ
