
Buyer Guide
Custom Inflatable Entrance Tunnels: Space, Visitor Flow and Branding
Specify a custom inflatable entrance tunnel from the usable passage outward. Confirm the required clear internal width and height, the length of the passage and the complete installed footprint, including equipment and fixing areas. Then have the event team review the approach, exit, accessibility and emergency arrangements before approving the final design.
By InflatCraft Product Team • Last updated
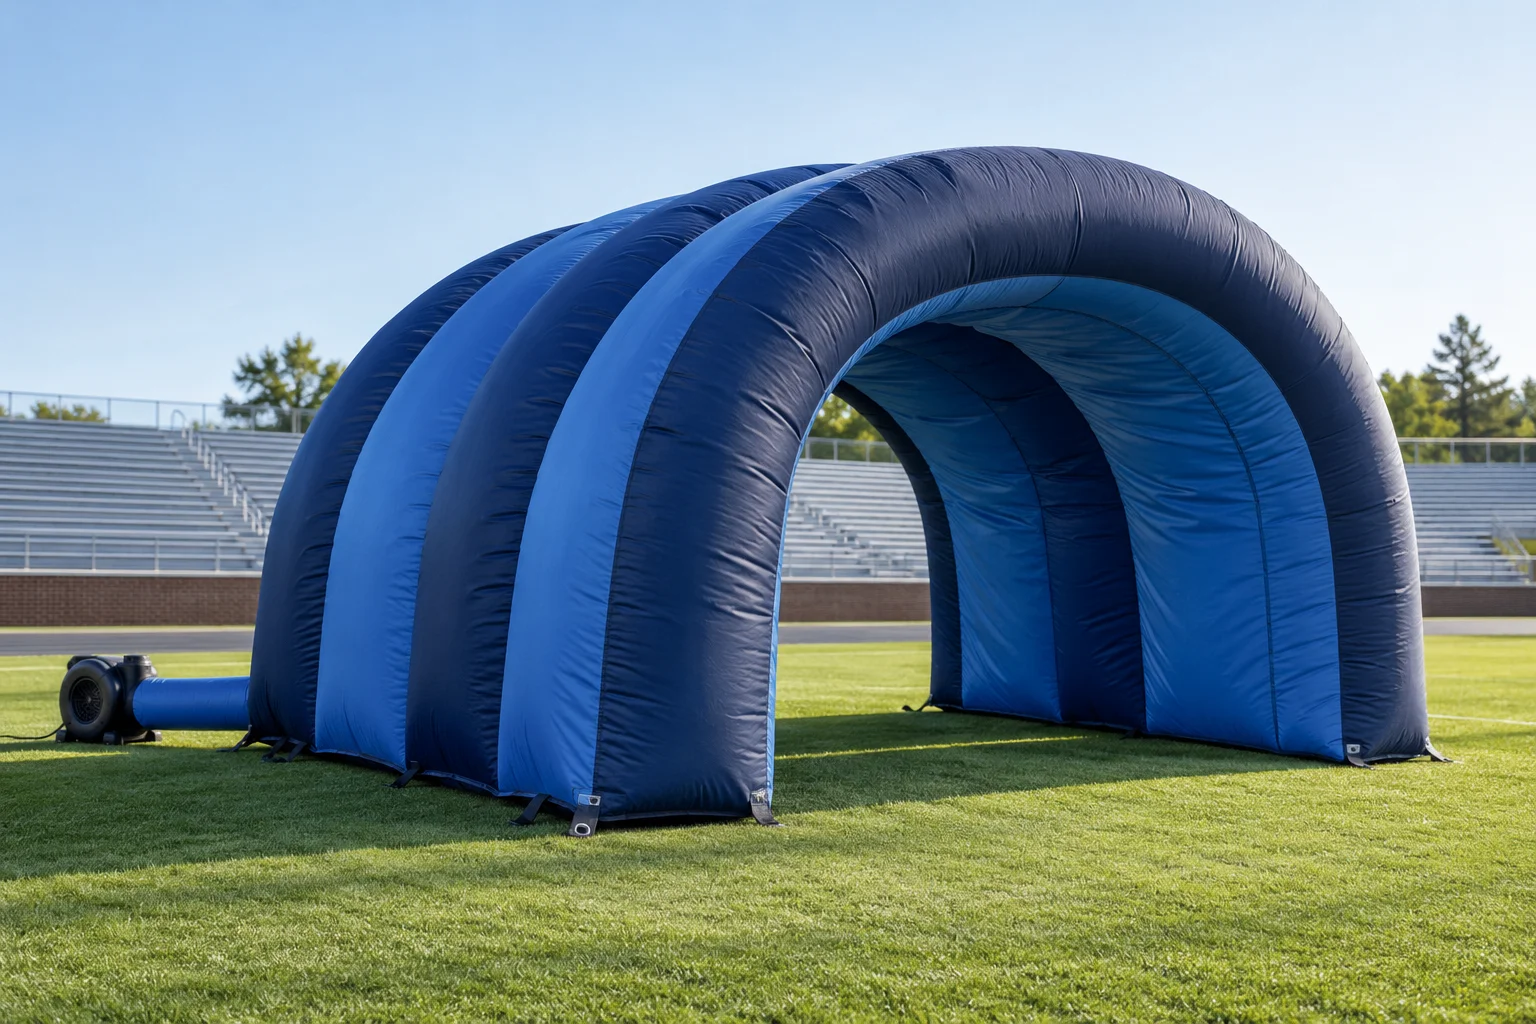
Planning the purchase
The most useful starting document is a marked site plan showing how the tunnel will fit into the event's operation. It helps the manufacturer develop the structure and gives the venue a concrete proposal to review.
Define who uses the tunnel and how
Begin with the intended activity. A controlled team entrance, a public visitor walkway and a sponsor experience have different operating needs.
Record who will pass through, their direction of travel, whether they move individually or in groups and what they may carry. Include equipment, costumes or mobility aids that affect the usable passage. Explain whether people will pause inside, stop for photographs at the exit or continue directly onward.
For team entrances, identify where participants wait before release and where they go after emerging. For public use, identify where visitors join the route and how people who do not use the tunnel will move around it.
Separate the clear opening from the outside dimensions
Ask for a drawing that labels the minimum clear internal width and height along the intended passage, as well as its length. Distinguish those measurements from the inflatable's outer dimensions.
Decorative heads, curved walls, supporting sections or changes in shape can affect the opening. A large exterior does not guarantee the passage the event requires. Ask the manufacturer to show the limiting internal dimensions rather than only the size of the front opening.
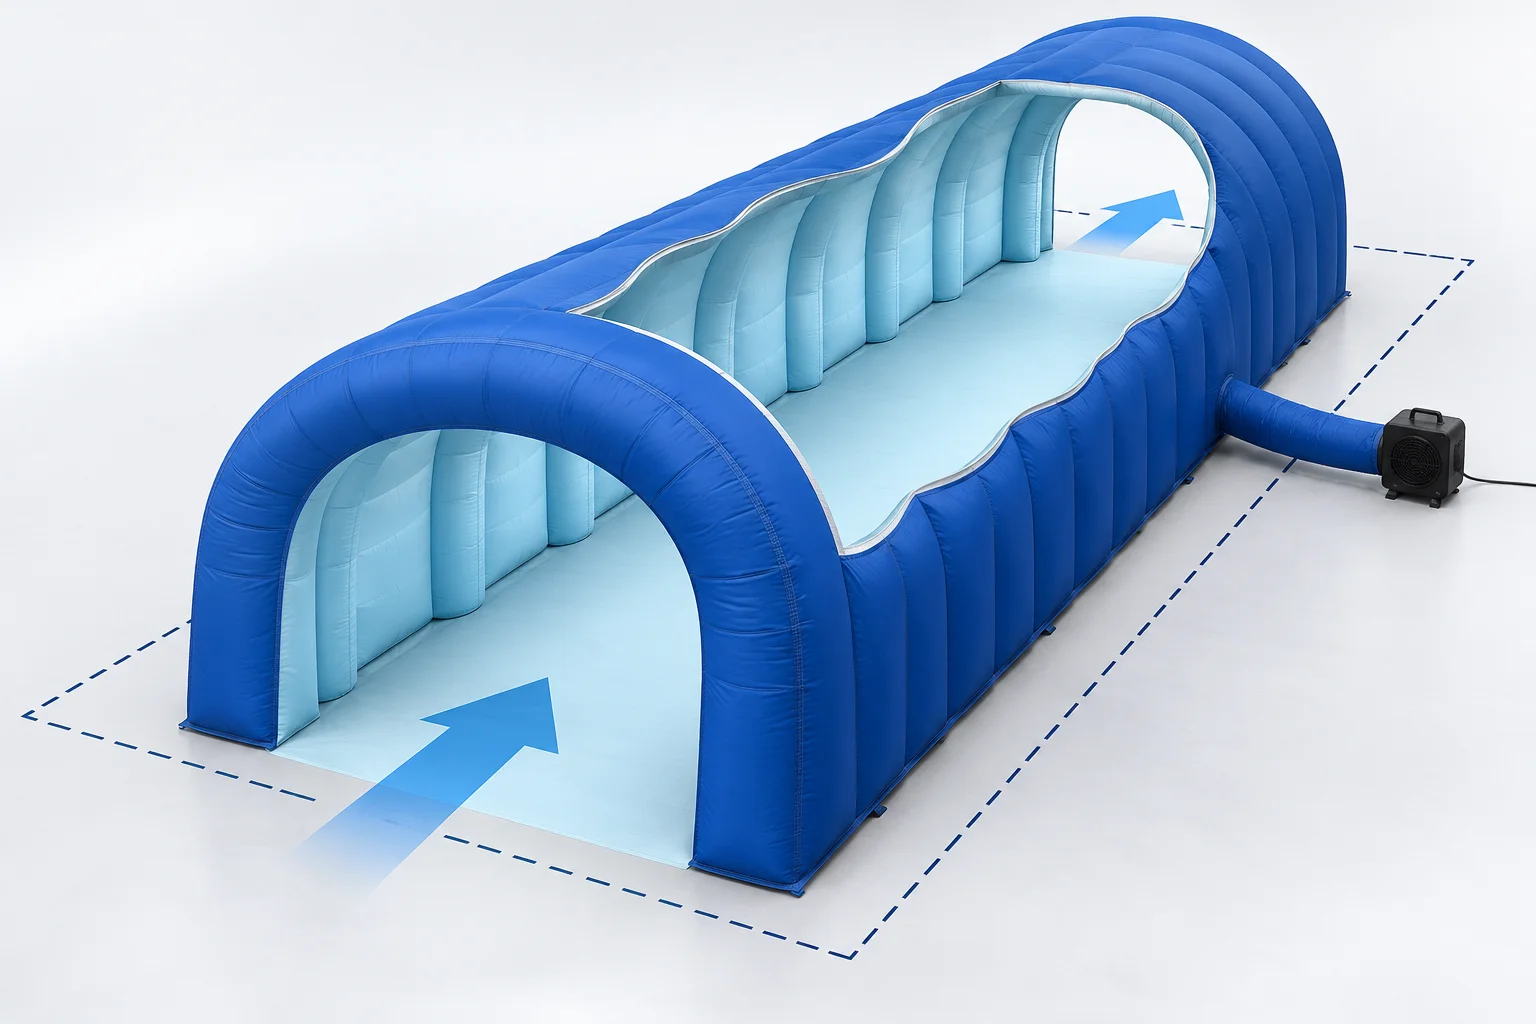
Next, identify the complete installed area. That includes the inflatable body and the space needed for the proposed fixing arrangement, air system, cables and operational access. Ask what allowances must be maintained during use and have the event team check them against the site plan.
Keep three separate entries on the brief:
- Clear passage: the usable internal route
- Product envelope: the inflatable's outside width, height and length
- Installation area: the full space reserved for the product, equipment and approved fixing arrangement
The inflatable entrance tunnel product page is a starting point for discussing those dimensions with the factory.
Review the route before and after the tunnel
A tunnel that fits its allocated rectangle can still create a poor approach or a congested exit. Put ticket checks, security searches, barriers, nearby attractions and photo opportunities on the same plan.
Ask the event operations team to review where queues could form, where people might change direction and whether someone stopping at the exit would affect those behind them. Consider the route when the event is busiest as well as during quiet periods.
The UK's Health and Safety Executive treats arrival, movement within the site and departure as connected parts of crowd planning. Its crowd-control guidance also advises keeping queues away from emergency access routes. This is useful planning guidance; the event must still follow the requirements of its own venue and jurisdiction.
A tunnel dimension is not a crowd-capacity rating. Have the responsible event specialists assess the proposed use and determine suitable management arrangements. Resolve whether the tunnel is an optional attraction, a controlled entrance or part of a wider circulation route before production.
Coordinate emergency and accessibility arrangements
Show emergency access and exit routes on the drawing submitted for review. Ask the organiser and venue how the inflatable, its equipment and any queue will interact with those routes.
Also request a review of the approach surface, thresholds, passage and alternative route where needed. Accessibility depends on the complete journey, including entry and exit conditions, rather than the opening width alone.
For a continuous-air design, ask the supplier for operating instructions and information relevant to an interruption of inflation. The event team should incorporate the appropriate response into its plan, including who stops use and manages the route. Do not assume the tunnel can serve as a required emergency route without explicit review by the responsible authorities and venue specialists.
Place the blower and cables on the plan
Air-system placement affects the available space and the visitor experience. Ask the manufacturer where the equipment and air connection are intended to sit, what access they need and which power requirements apply to the proposed configuration.
Have the event's electrical provider review the supply and cable route. Keep the proposed arrangement visible on the site drawing instead of leaving cables and equipment to be accommodated on installation day.
For UK events, HSE's electrical safety guidance includes planning power around the site layout and routing cables to reduce trip hazards and damage. Requirements elsewhere should be confirmed with the venue and appropriate local specialists.
For outdoor use, provide the surface type and site exposure. Ask for project-specific operating instructions and fixing requirements. Do not infer weather suitability or a wind limit from the tunnel's size, weight or appearance.
Organize branding around the actual views
Build the print brief around three views: the approach, the side and the exit. Decide which carries the main brand, which carries sponsor information and which will appear in photographs.
Put the most important message where the audience can see it during normal movement. Avoid relying on a dense block of text inside a passage where people are expected to keep moving. If photographs are part of the activation, plan the photo position with the event team so it does not interrupt the route.
Ask for artwork on the proposed three-dimensional shape, with seams and printable areas shown. A flat logo sheet cannot reveal how graphics will wrap around curved walls or decorative features.
The sports events application guide provides wider context for team, sponsor and venue branding around the tunnel.
Purchasing checklist: complete the site brief
Before asking for the final quotation, confirm these fields:
| Brief item | What to provide |
|---|---|
| Use and users | Team entrance, public walkway or activation; movement and equipment needs |
| Usable passage | Required clear width, height and length, subject to site review |
| Available area | Site plan with overhead constraints, neighboring structures and full installation space |
| Visitor movement | Approach, exit, waiting areas, photo locations and any bypass route |
| Site services | Surface, fixing restrictions, power location and proposed cable route |
| Approval process | Venue contact, required documents and unresolved conditions |
| Branding | Artwork, approach and side views, sponsor priorities and color references |
| Order scope | Quantity, accessories, destination and required on-site date |
Approve the dimensioned layout and artwork together. A change to the shape can affect both the clear passage and the graphics, so keep the final product revision consistent across the quotation and approval documents.
Request a site-led tunnel quotation
Submit the required clear passage, intended use, quantity, destination, on-site date and venue review requirements through the entrance tunnel enquiry page. After the reply, share your marked site plan and artwork by email or WhatsApp; the form has no file-upload field. These details help the factory develop a site-led proposal.
Product Buying Guides
More on choosing and ordering custom inflatables.
Static Inflatable Mascot Production Approval Checklist
Approve a custom inflatable mascot for retail or events: review 3D shape, facial details, site limits, inspection proof, accessories and RFQ scope.
Reflective Event Spheres or Helium Advertising Balloons? | InflatCraft
Compare air-filled reflective spheres with helium advertising balloons by installation, artwork, operating responsibilities and quotation scope.
Fixed Character Displays or Wearable Mascots? | InflatCraft
Compare a stationary character display with a wearable inflatable mascot by interaction, performer requirements, staffing and quotation scope.
Sports Entrance Tunnels or Event Tents? | InflatCraft
Plan a branded sports tunnel around usable passage, event operations and artwork, and distinguish it from an occupied event tent.
Compare sizes, materials and air systems on the custom advertising inflatable product range page before sending an RFQ.
Relevant Product Pages
Compare specifications before submitting an RFQ.
Related Project Example
Buyer FAQ
