
Buyer Guide
Custom Inflatable Mascots: Printed Details vs. 3D Features
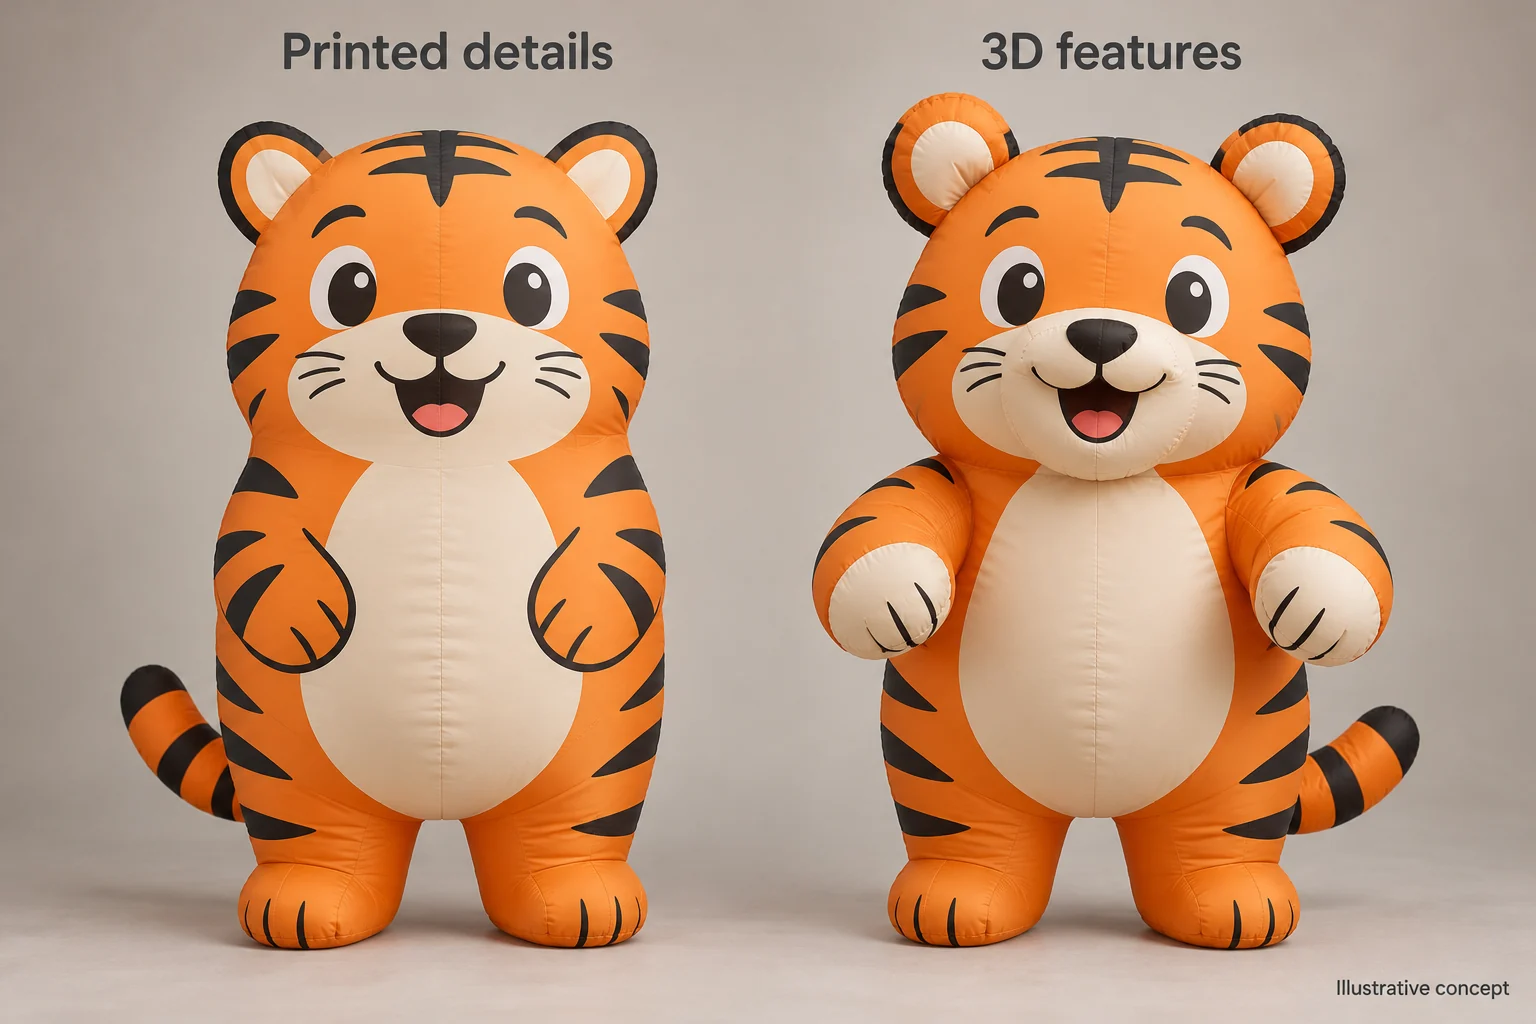
Use printing for surface information and three-dimensional construction for features that define the silhouette. Eyes, stripes and small markings often work as artwork; ears, muzzles and projecting arms may need shaped volume. The right mix depends on viewing angles, character priorities and a project-specific construction review.
By InflatCraft Product Team • Last updated
Start with what makes the character recognizable
A custom inflatable mascot should preserve the features people recognize at the intended viewing distance. Start with a short identity list: perhaps a rounded muzzle, pointed ears, broad shoulders and a particular stripe pattern. Then separate the outline from the surface artwork. A beautiful front-view illustration can hide a flat side profile, an unsupported projection or a feature that disappears when the display is viewed from below.
State whether the custom inflatable character is a static advertising display, a moving air-dancer format or a proposed wearable costume. These are different briefs. An illustration of a person-shaped mascot does not confirm that someone can safely wear it. Give the supplier the venue, audience distance, available footprint, operating duration and indoor or outdoor intent before treating a design as production-ready.
Print or build: a practical feature comparison
| Character detail | Print-led option | When 3D deserves review |
|---|---|---|
| Eyes, eyebrows and small markings | Print contrast and expression onto the face surface. | Raised eyes change the profile but can alter the expression from other angles. |
| Stripes, spots and clothing graphics | Use artwork with seam and alignment references. | Add volume only where a ridge or garment outline is essential. |
| Ears, muzzle and nose | Suggest depth through printed shading. | Build volume when side-view recognition depends on the projection. |
| Arms, hands and props | Use a graphic treatment or a simplified close-to-body pose. | Review projecting parts for shape retention, connections and operating space. |
Printing is often useful for dense visual detail, but it is not automatically the cheapest answer. Complex wraparound graphics can require careful panel mapping and approval. Similarly, a 3D feature does not automatically make a mascot more accurate: a small inflated shape may round off, shift proportions or cover nearby artwork. Ask what the proposed method preserves and what it simplifies.
Use front and side views to prevent interpretation gaps
Provide front and side views with matching proportions. Mark each important feature as printed, must remain three-dimensional, or open to supplier recommendation. Identify the viewing angle used for approval and show where the logo should remain readable. If only one reference image exists, ask for a side-view proposal rather than leaving the depth to interpretation.
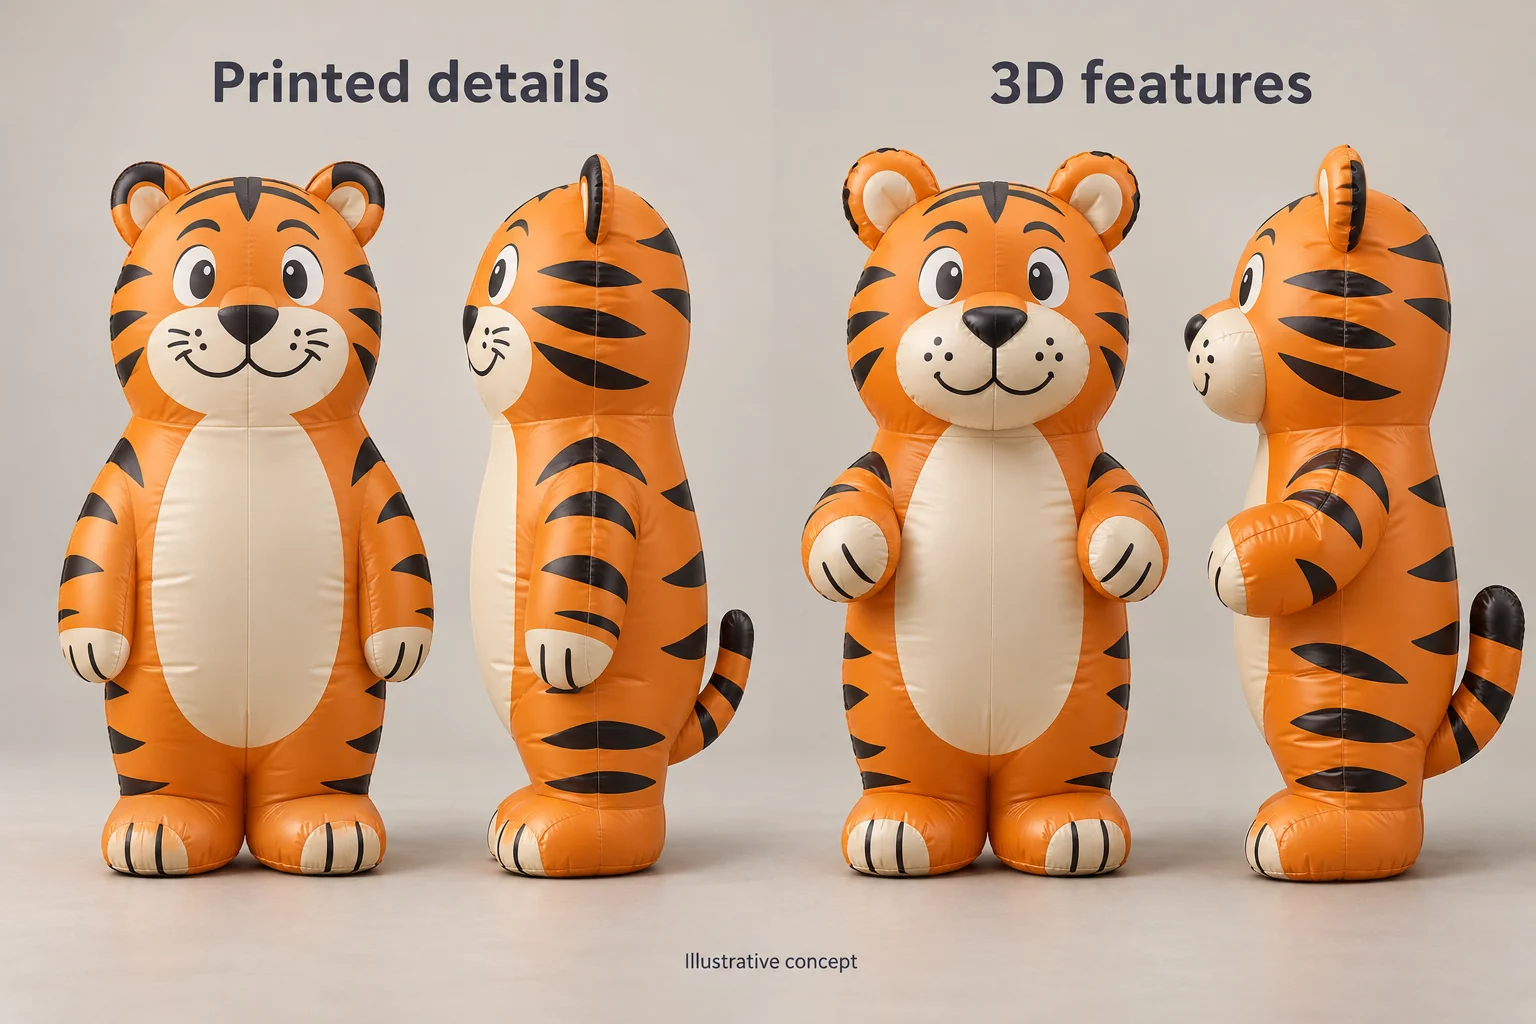
On the tiger mascot page, use the arm pose and facial proportions as discussion points, not proof of a final construction. The king mascot offers a different comparison: the crown, cape and scepter can each affect the outline. The gorilla mascot helps frame questions about shoulders, arms and accessory shapes. Confirm the final feature treatment in your own drawing.
Review manufacturability before approving the appearance
Ask the custom shaped inflatable manufacturer to explain how the selected geometry will be translated into panels and connected shapes. Useful review questions concern narrow connections, long projections, print crossing seams and areas where the intended profile may need simplification. Request a revised drawing when a manufacturing change affects recognition; do not approve a change described only as “similar.”
- Which seams may cross the face, logo or a critical stripe?
- Which projections need a different pose or construction approach?
- What air system, material and accessory scope does this proposal assume?
- What site and anchoring information is still required before operation?
Structural suitability, stability, anchoring and operating limitations require project-specific assessment. A realistic rendering cannot establish any of these. Agree whether the next approval step is a drawing, material or print reference, physical sample, or another defined review, and record what each step can actually confirm.
Packing and handling are part of the design decision
Extra shaped parts can change folding, handling and packed volume, but no reliable carton size can be inferred from a rendering. Ask for packing assumptions with each option and confirm the final dimensions and weight when the actual packing information is available. Keep the inflatable body, blower, connecting parts, repair materials and other accessories distinct in the packing list.
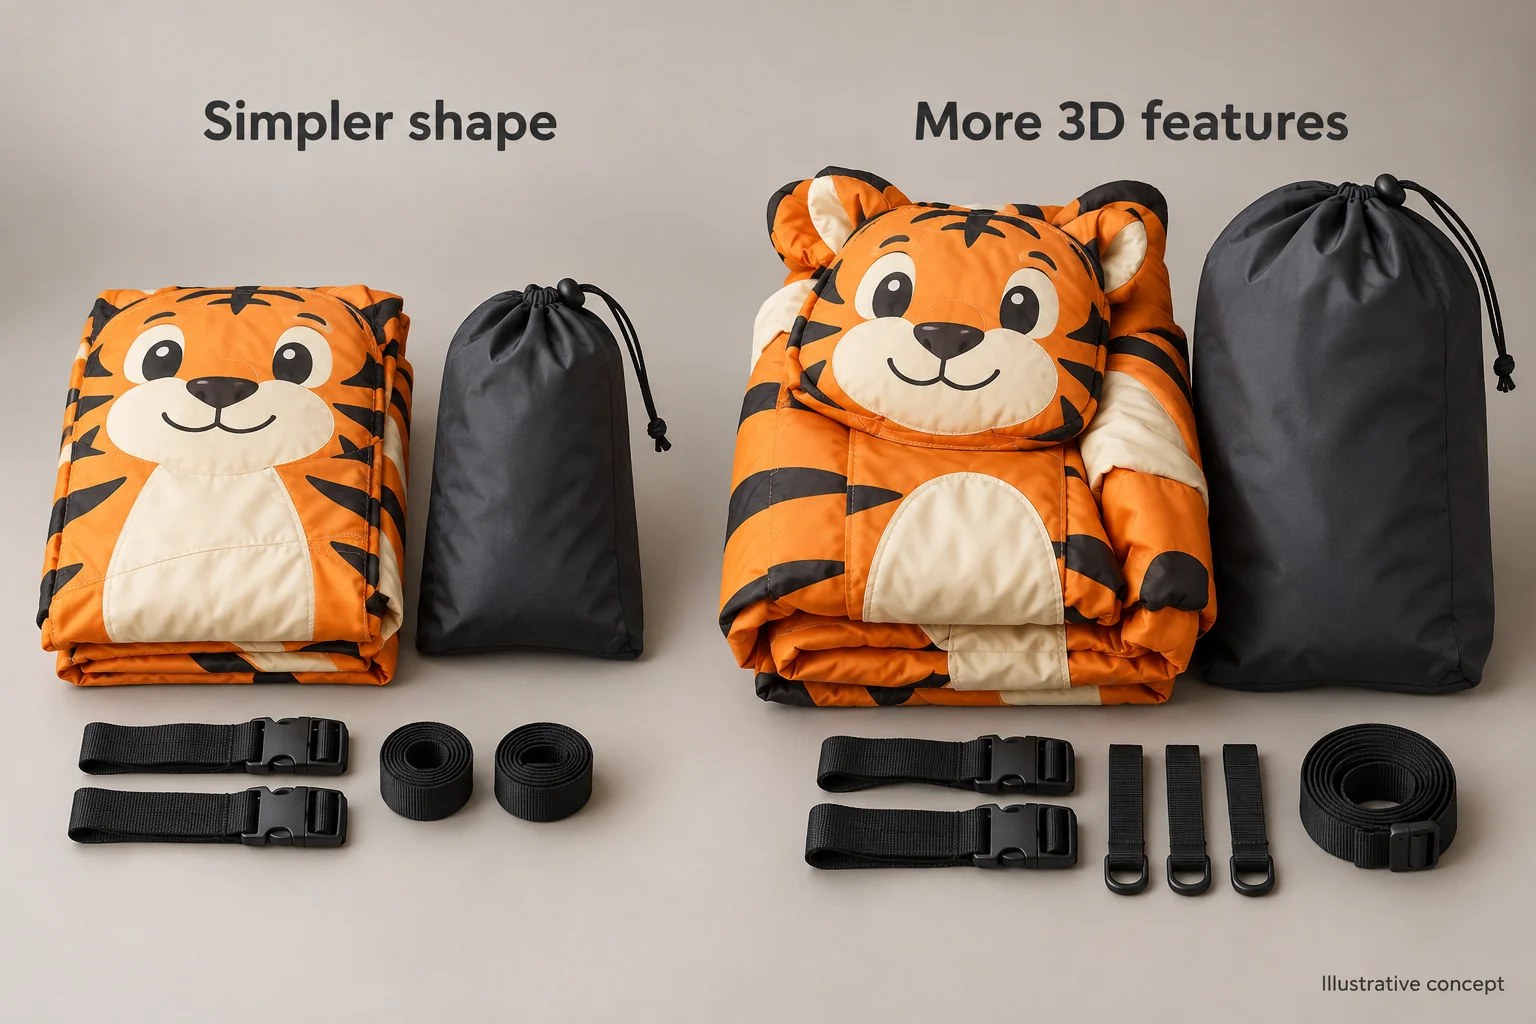
For repeated events, discuss how the unit should be dried, folded, protected and identified between uses. A detachable part may help one packing arrangement while adding assembly steps or a risk of missing components. Ask whether proposed detachable features are appropriate for this design rather than assuming every 3D element can be removed.
Request two comparable quotations
Ask for Option A, a print-led treatment, and Option B, a version retaining your essential 3D features. Keep the intended overall dimensions, quantity, artwork, material assumptions, air system, accessories, delivery destination and commercial basis the same. Have the supplier identify every difference, including sample work, design revisions, packing and exclusions. Otherwise the apparent price difference may reflect two different supply packages.
Send InflatCraft your front and side references with the must-be-3D areas clearly marked. Add the target size, quantity, intended use, destination and required arrival date. Request the two approaches with their visual compromises and open technical questions, then approve the selected drawing and quotation together.
Product Buying Guides
More on choosing and ordering custom inflatables.
Custom Inflatables Bulk Order Checklist | InflatCraft
Prepare a custom inflatables bulk order with a shared approval record for artwork, color, dimensions, accessories, unit IDs, packing and acceptance.
Custom Spheres vs Helium Balloons | InflatCraft
Compare air-filled reflective spheres with helium advertising balloons by installation, artwork, operating responsibilities and quotation scope.
Fixed Character Displays or Wearable Mascots? | InflatCraft
Compare a stationary character display with a wearable custom inflatable mascot by interaction, performer requirements, staffing and quotation scope.
Sports Entrance Tunnels or Event Tents? | InflatCraft
Plan a branded sports tunnel around usable passage, event operations and artwork, and distinguish it from an occupied event tent.
Compare sizes, materials and air systems on the custom advertising inflatable product range page before sending an RFQ.
Relevant Product Pages
Compare specifications before submitting an RFQ.
Related Buying Guides
Buyer FAQ
